 Creating a custom avatar with HeyGen AI is actually pretty easy, even if you’ve never tried it before. You’ve got a few different options, whether you want to use your photo, record your voice, or just pick from readymade avatars and voices.
I’ve found it fun to experiment, and the whole process only takes a few minutes. Plus, you might be surprised at just how real your new avatar can look and sound, giving your videos a brand new twist that grabs attention.
HeyGen is an online tool that generates avatars for videos, presentations, and more. On the free version, you can upload a selfie, record a quick video of yourself, or choose from samples.
No tech background needed.
Whether you’re looking to add personality to your online meetings or step up your content creation, HeyGen provides an easy entry point to AI-powered avatars.
This step-by-step guide takes you through everything you’ll need to know, from signing up to seeing your digital avatar in action.
If you’re just starting out, I’ll break each step down in simple language and even toss in a few pro tips so you get the best results.
Step 1: Create a HeyGen Account
First up, you’ll need a free HeyGen account. Don’t worry, signing up only takes a minute.
- Go to HeyGen´s official website
- You can sign up with your Google account, Apple ID, or just use your email.
- Choose whichever is simpler for you. If you use email, just fill out your info and submit.
- You can immediately start using HeyGen.
Once you’re in, you’ll have access to all the free avatar creation tools.
No credit card is needed for the basic features, which is nice when you just want to test things out.
Once logged in, spend a moment checking out the dashboard – it’s pretty intuitive.
Step 2: Choose How You Want to Create Your Avatar
You’ve got three main choices on HeyGen:
- Upload a photo of yourself to make a realistic digital avatar.
- Record a video and audio right in your browser (no special equipment required).
- Pick a public avatar and voice from HeyGen’s free samples if you want something readymade.
For most people, uploading a photo or recording yourself is the easiest way to get something that feels personal. If you’re a bit camera-shy or you just want to see how it works before getting your face involved, the public avatars are a great way to jump in and try things out.
Step 3: Upload a Photo to Generate Your Avatar
Here’s how you can create an avatar using your own photo, step by step:
- From the HeyGen dashboard, tap on “Avatars” in the left menu.
- Look for the button or option that says “Create a virtual character”
- Choose the “Photo Upload” feature.
- Pick a clear selfie or headshot from your device. Choose a photo where you’re facing the camera and your face is well-lit. You have examples of what is considered a good photo, and a bad photo.
- Upload the photo. Wait a few seconds for HeyGen to process it. You’ll see a loading bar while your avatar is being built.
HeyGen uses your photo to generate a lookalike avatar automatically. It’s best to use a photo with a clean background and a natural facial expression. Avoid filters or group shots for better results.
If you want your avatar to truly reflect your style, consider how you look in the photo you pick; your avatar will mirror many of those features.
Alternatively, you can select ¨Design with AI¨, describe your Avatar, and AI will generate it for you.
Step 4: Record Your Voice and Face (Video Option)
If you want an animated avatar that actually sounds like you, try the video and voice option. It adds a personal touch and can be fun for creating explainer videos or more engaging content.
- From “Create Avatar,” pick the “Clone a real person” option (look for a camera icon).
- Your browser may ask for permission to use your microphone and camera. Click “Allow.”
- Follow the instructions on screen. Usually, you’ll need to read a short sentence or phrase.
- Look straight at your webcam, talk clearly, and keep your head in the center of the frame.
- Hit “Stop” or “Finish” when you’re done. The site will upload your recording automatically.
HeyGen will process your video and combine your image and voice to make a digital avatar that looks and sounds like you. If you’re not happy with the take, you can rerecord as many times as you need.
Try a few takes if you want to see how subtle changes affect the end result, or if you just want to add some personality.
Step 5: Pick a Free Public Avatar and Voice
Not in the mood to create something from scratch? HeyGen has free avatars and voices you can use right away, letting you produce content in minutes.
- Head over to the “Public Avatars” section.
- Scroll through the list of available options, or use the search bar. You’ll see avatars with different styles, ages, and genders. TIP: The UGC avatars look realistic.
- Click on any avatar to preview what it looks and sounds like in a sample video.
- Choose one that fits your vibe. You can always switch to another later.
This option comes in handy if you want to make a quick AI video with no setup. Plus, you can test the features and see how HeyGen’s technology works without needing your own photo or voice involved.
Step 6: Customize and Test Your Avatar
Once your avatar is ready, you can tweak a few things, especially if you uploaded your own photo or did a video recording. Customizing your avatar helps it feel more “you,” and little changes can make a big difference in how authentic your digital twin looks and sounds.
- Preview your avatar by playing a sample video. You’ll hear the voice and see how it moves.
- If your avatar doesn’t look or sound quite right, use the “Edit” or “Retake” options.
- Adjust your avatar’s name, appearance, or other basic details if you want.
- Some tweaks might be limited on the free version, but you can always start over or pick a different photo.
Take a minute to experiment. Small tweaks, like adjusting your photo or trying another take, can help your avatar feel spot on. Don’t hesitate to change details until you’re satisfied.
Step 7: Use Your Avatar in HeyGen Projects
Now that your avatar looks good, it’s ready to star in any HeyGen video you want to make. Whether you’re preparing a social media post, a classroom lesson, or a quick greeting, your avatar can bring your script to life.
- Open the HeyGen editor or a video template.
- Choose your new custom avatar from the list when prompted.
- Type in the text you want your avatar to say. The AI will turn your script into speech.
- Preview your video. You’ll see your avatar reading your script out loud, with your chosen voice.
- Export, download, or share your video from the HeyGen dashboard.
On the free plan, some limitations apply, like short video length or a watermark, but you can experiment as much as you want. Try creating a welcome video for your website, a quick intro for your YouTube channel, or just something fun to send to your friends.
Extra Tips for the Best Avatar Results
- Use high quality, well lit photos for more accurate avatars.
- Speak clearly and directly into the camera when recording. Avoid background noise for voice samples.
- Double check your preview. If it seems off, don’t be shy about trying again.
- Start simple; try a public avatar first if you’re unsure.
- Remember, the more natural your recording or photo, the more realistic your avatar will be. Play around and see what you can create!
HeyGen has a support page and helpful walkthroughs if you ever get stuck. Their Forum section (accessed from your profile, then Resources) is pretty handy for troubleshooting and quick solutions.
Frequently Asked Questions
Is it free to create an avatar on HeyGen?
Yes, on the free version you can create an avatar using your photo, video, or by choosing from public options. Some features are for paid users, but basic creation tools are open to everyone. If you just want to experiment, you won’t need to pay anything.
Can I change my avatar later?
Definitely. You can delete, edit, or remake your avatar anytime from your HeyGen dashboard. Switching avatars is quick, so you have plenty of freedom to test different looks and voices.
What kind of photo or video works best?
Choose a headon photo or video with good lighting. Avoid blurry, group, or dark pictures for best results. Even smartphone selfies can work great if you take the time to set up your shot.
Do I need any special gear to record myself?
Nope. A basic laptop or smartphone with a camera and mic works fine. There’s no need for fancy equipment; just find a quiet spot and hit record.
Try It Out
Setting up an avatar with HeyGen is a fun way to play with AI tech, even if you’re just curious. Whether you’re adding a new twist to your presentations or making fun test videos, it doesn’t take long at all. If you ever dreamed about having a digital version of yourself, this could be the ideal place to start.
- Sign up free and log in.
- Upload a photo or record yourself, or use a public avatar.
- Test your avatar and start making videos fast.
Give it a try and see what kind of digital twin you can make. With just a few clicks, you might be surprised by how quickly you can bring your ideas to life and step up your video game!
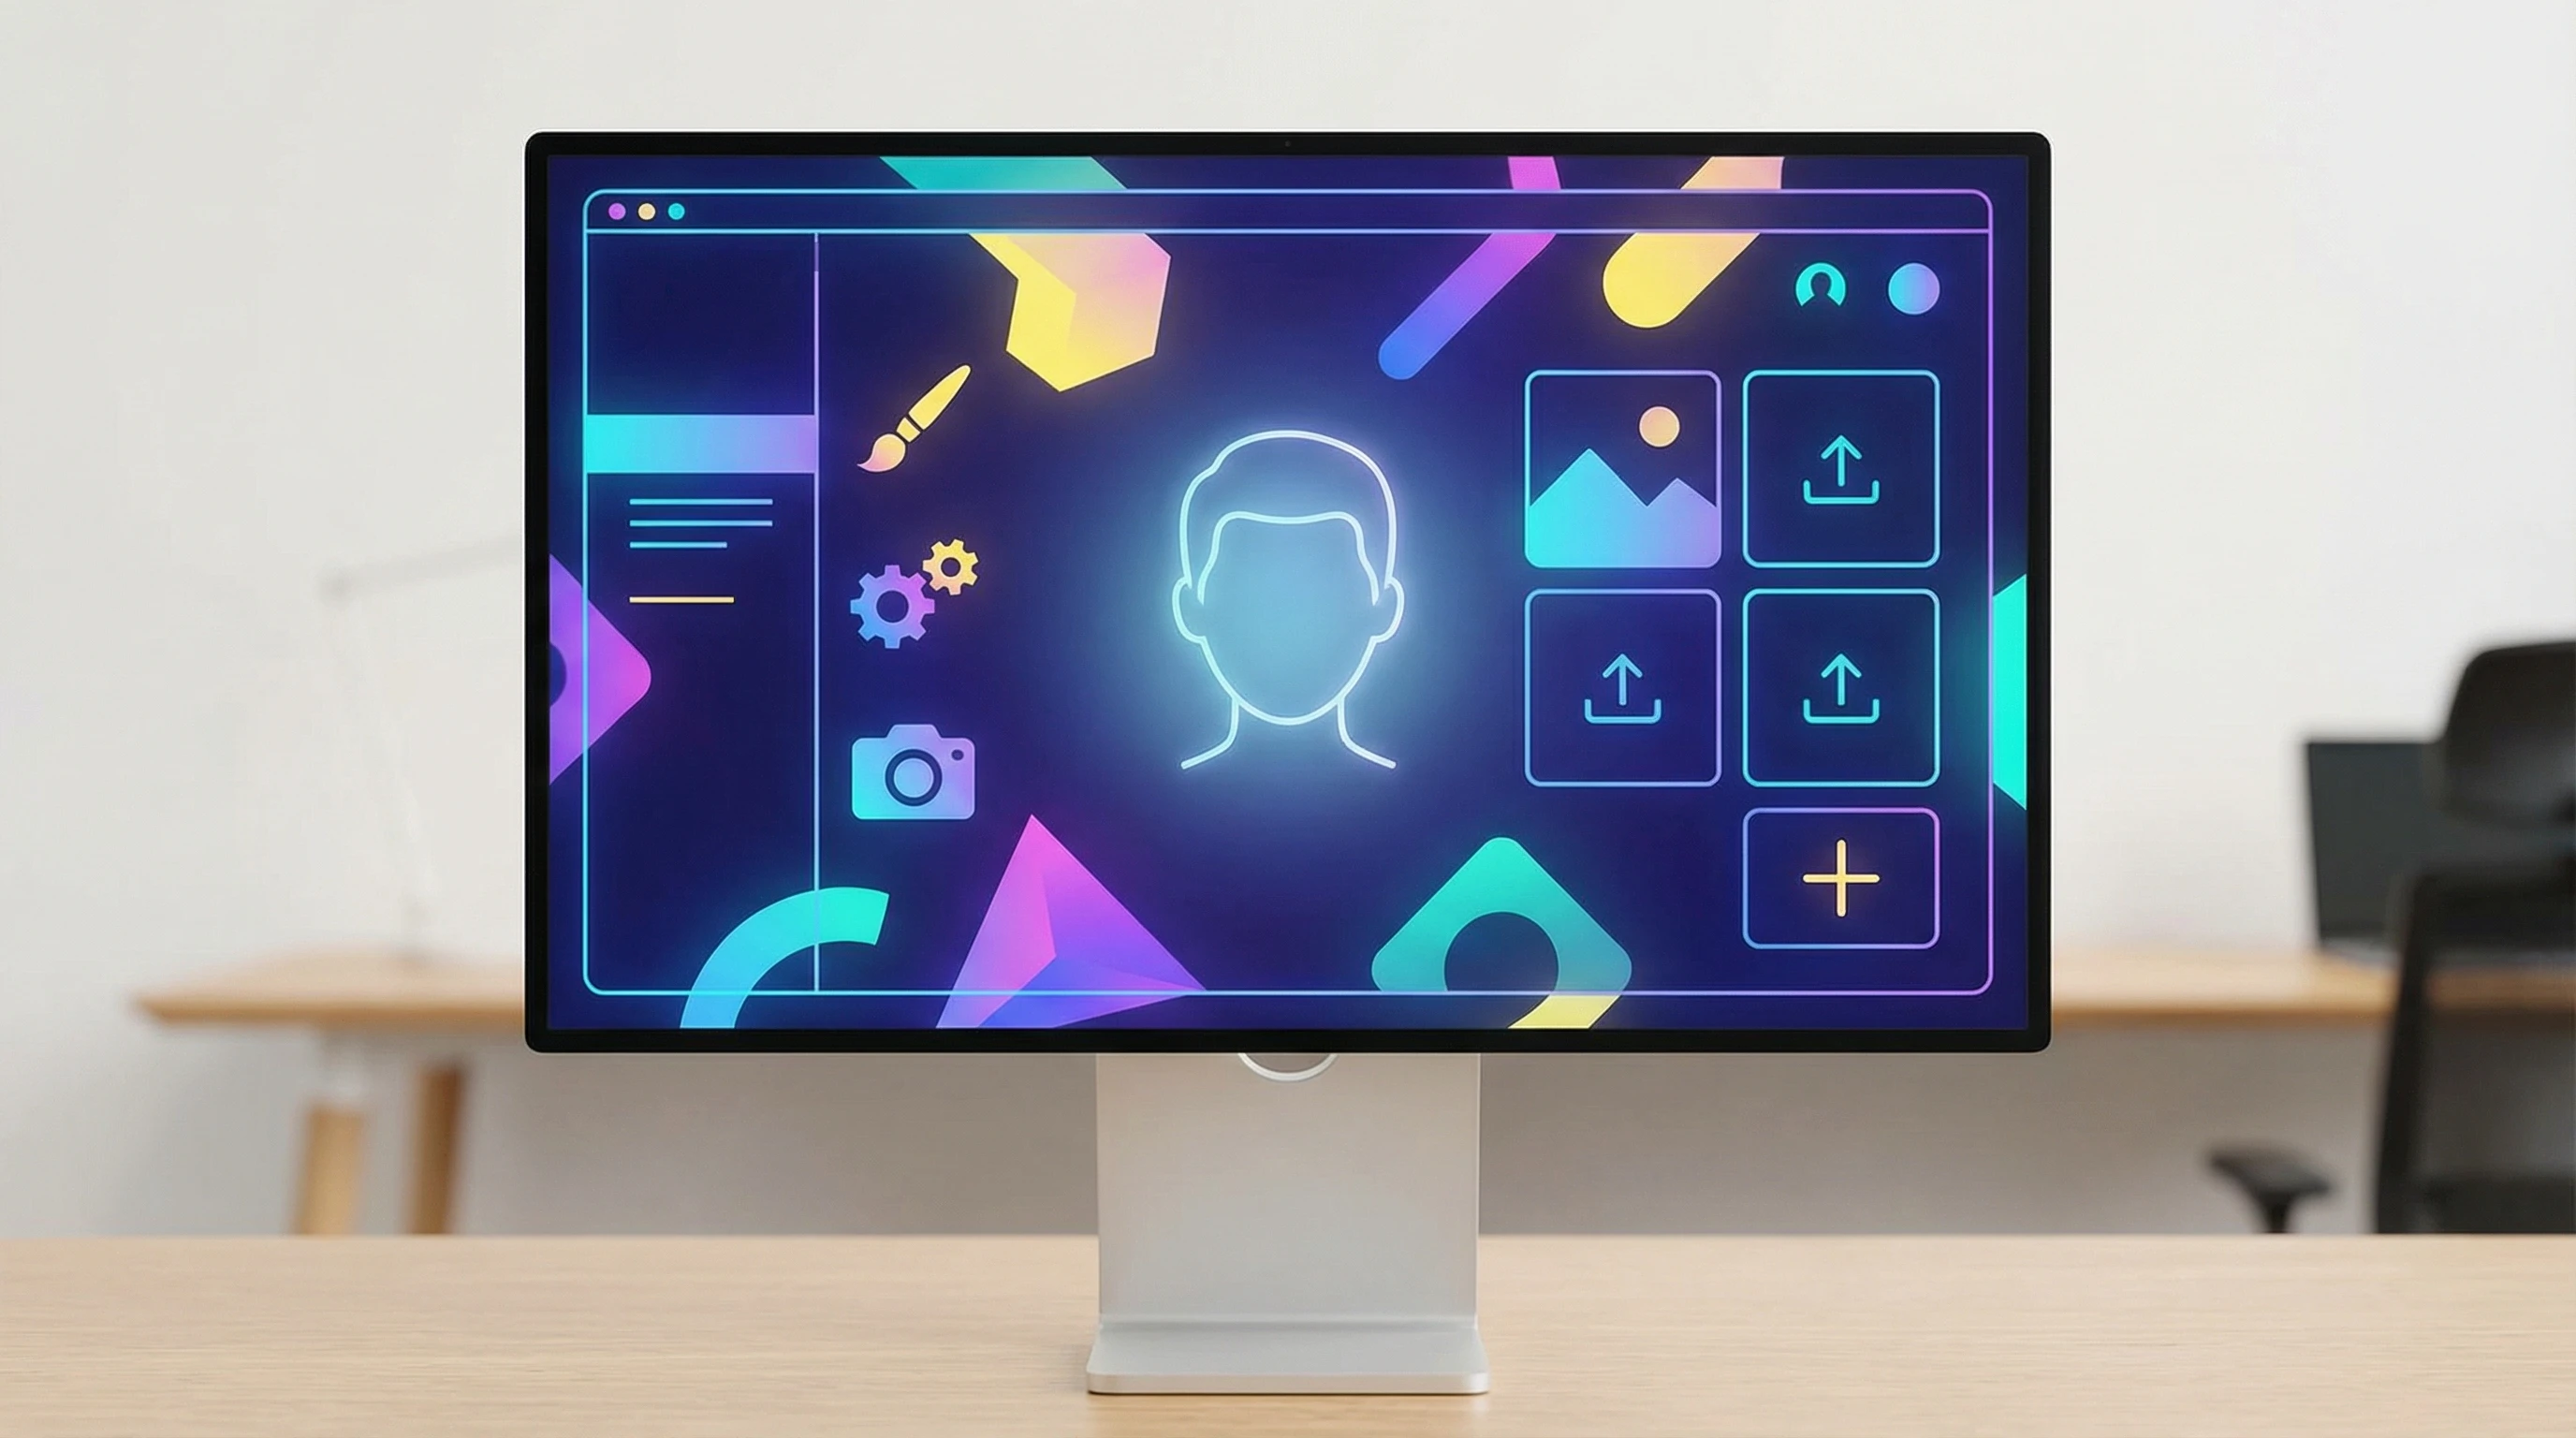
Avatar generated using HeyGen AI